A Guide to React Components
Components - The Arc reactor of React.

Hey, I am Shalini Muskula, an undergrad student learning Web Development. I recently started contributing to Open Source. I will be focusing on Web development and DSA in my blogs.
Introduction
If you are just getting started with react, it is essential to know about the components which are the fundamental blocks in react. In this blog, I will be explaining about components, their relationships and how you can use them.
Relationship of Components
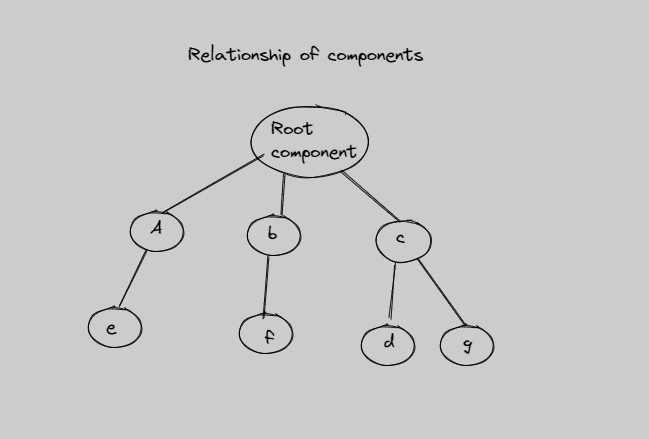
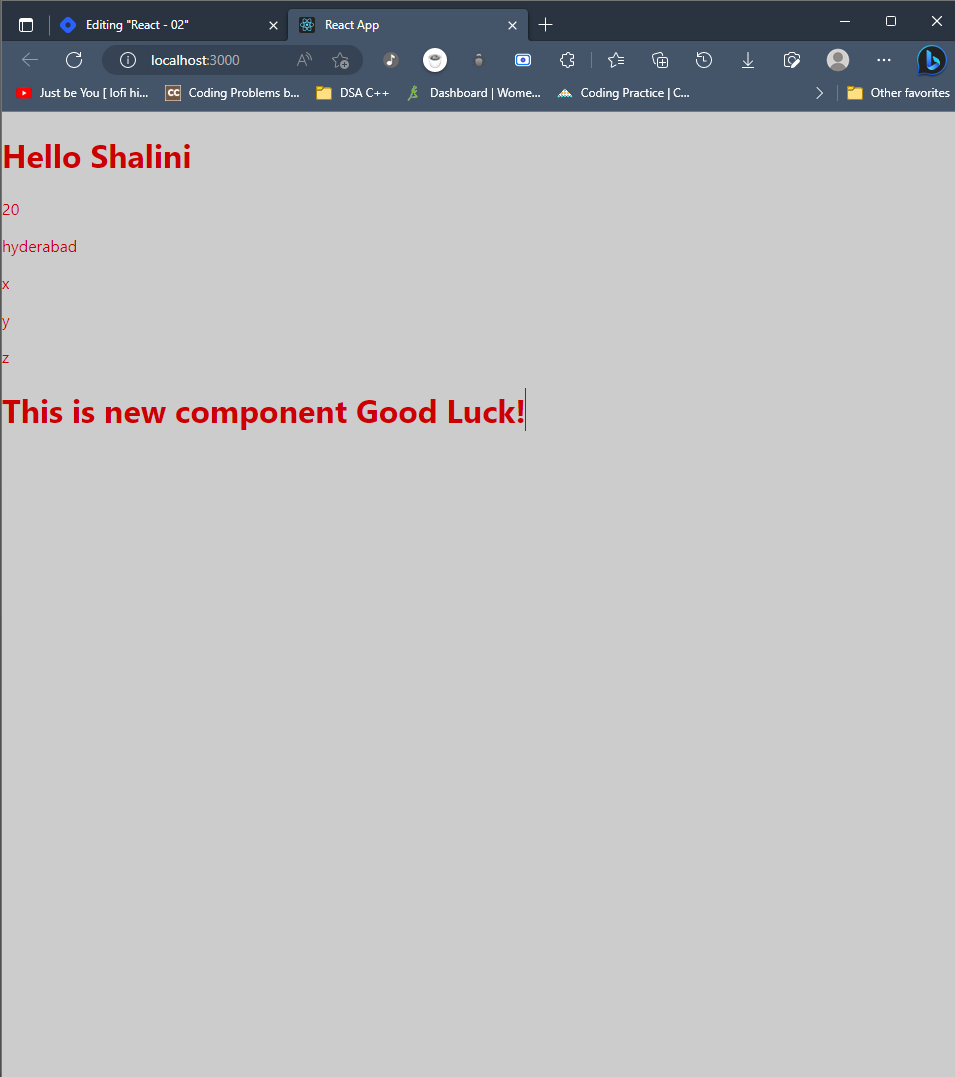
When you want to add something to a page in vanilla javascript, you need to add many lines of code and use appendchild method. React makes it easier by dividing the page into components and rendering them. For example, you can make your navbar a component, your footer a component, etc. The components are not independent, you need to connect a component to the root or other components for it to be rendered on the screen. The main component is the root component.
The root component is already connected to the main page i.e. index.html. App.js is the root component. When you name a component, you follow CamelCase. Every component should return a react element. Some components can receive properties as input and return react element. You can create components using a function.
function FunctionName(){
    return <h1> "Hello World" </h1>; //returning the react element
}
If you want to return more than one HTML element, you can wrap it in <div></div> and then return it. You can only return one element. Every application contains an entry point and index.js is the entry point of React application.
Hello World!
Let's write Hello World in React. If you observe the code in App.js, it appears similar to HTML but it is not HTML, it is JSX - Javascript XML. [To know more about JSX, refer to the documentation: Introducing JSX – React (reactjs.org)]
Always create all the components inside the src folder.

If you want to use variables or javascript within JSX, the code should be wrapped in {} . You can even print objects onto the screen. If you want to traverse an array and print the data on the screen, then you need to use filter and map methods as they return the elements in the array.
arr = ["x","y","z"]
{
    arr.map((ele) => (
        <h1>ele</h1>
    ))
}

Styling a component
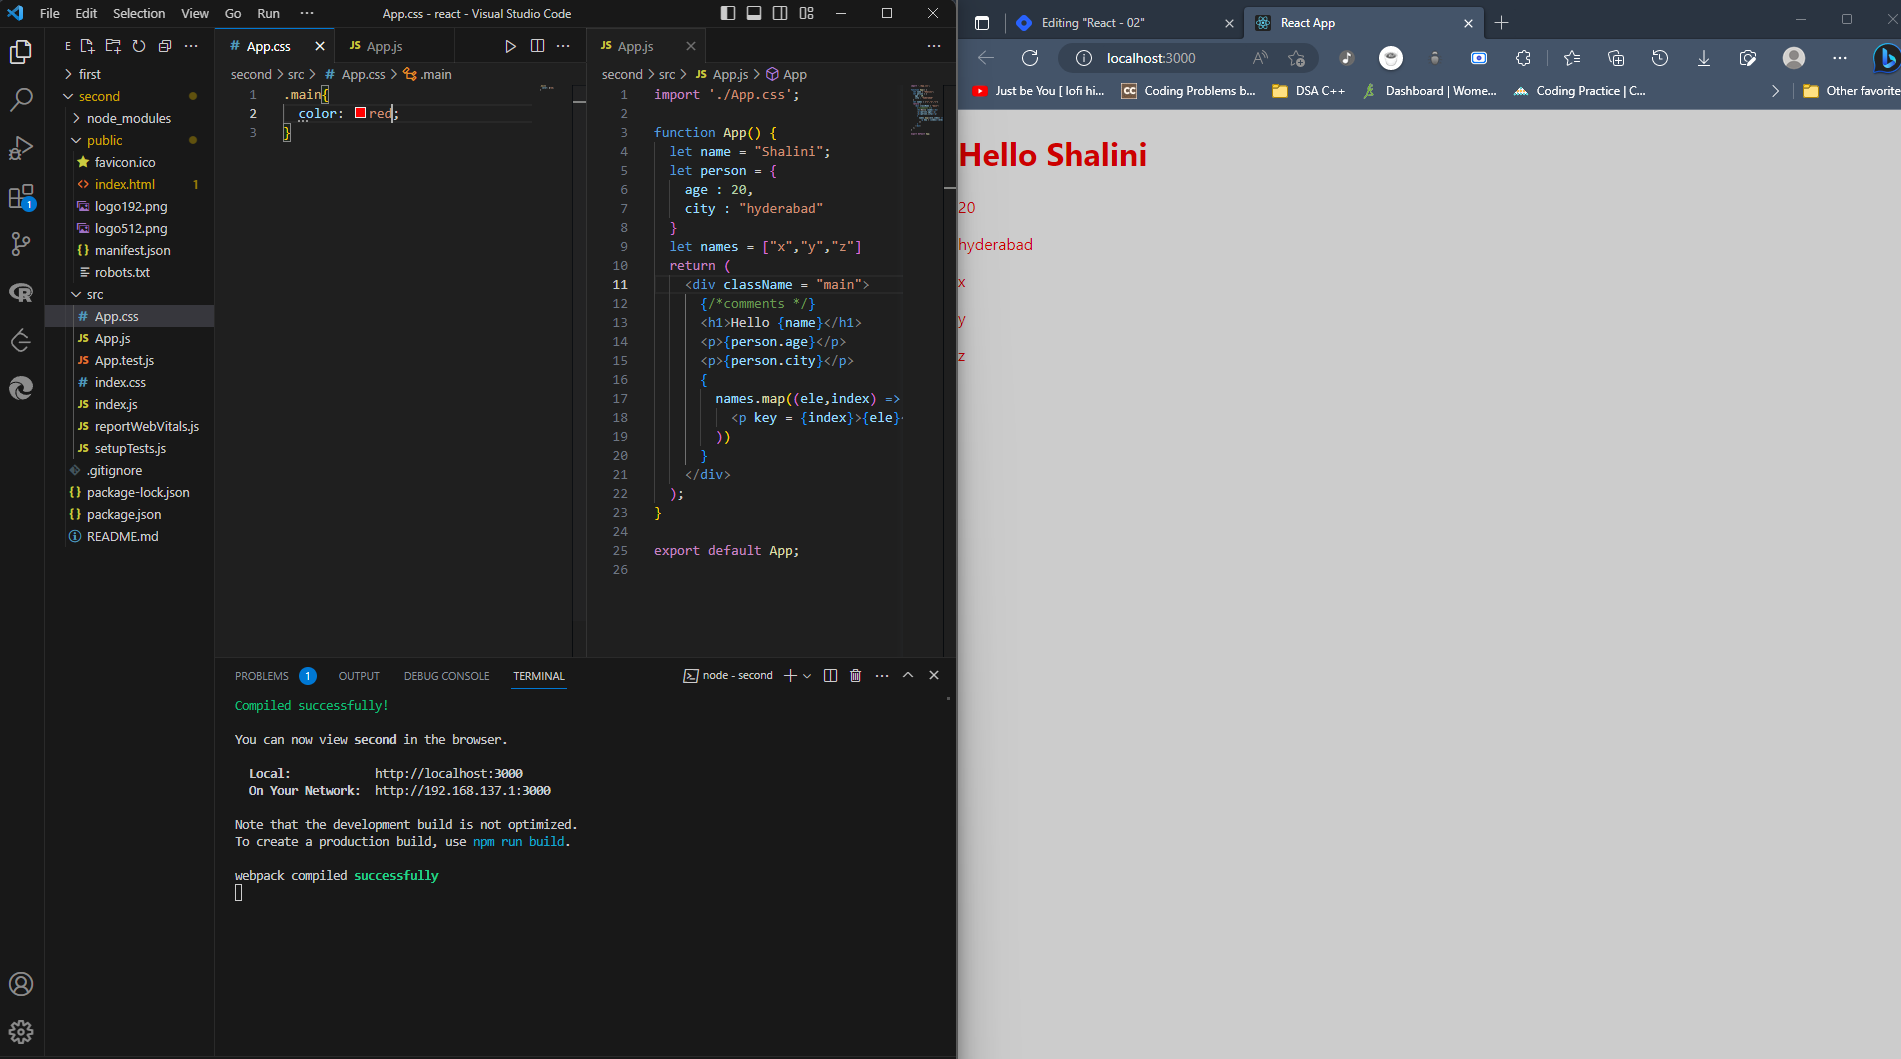
We use class in HTML, whereas we use className in JSX to style the component. You add your styles to the corresponding CSS file of the component.
Creating and Nesting of Component.
Nesting a component involves placing one component inside another component i.e. parent-child relationship will be established.
Create a new folder called components inside src - this will keep the components organized. Create two files, ComponentName.js and ComponentName.css.

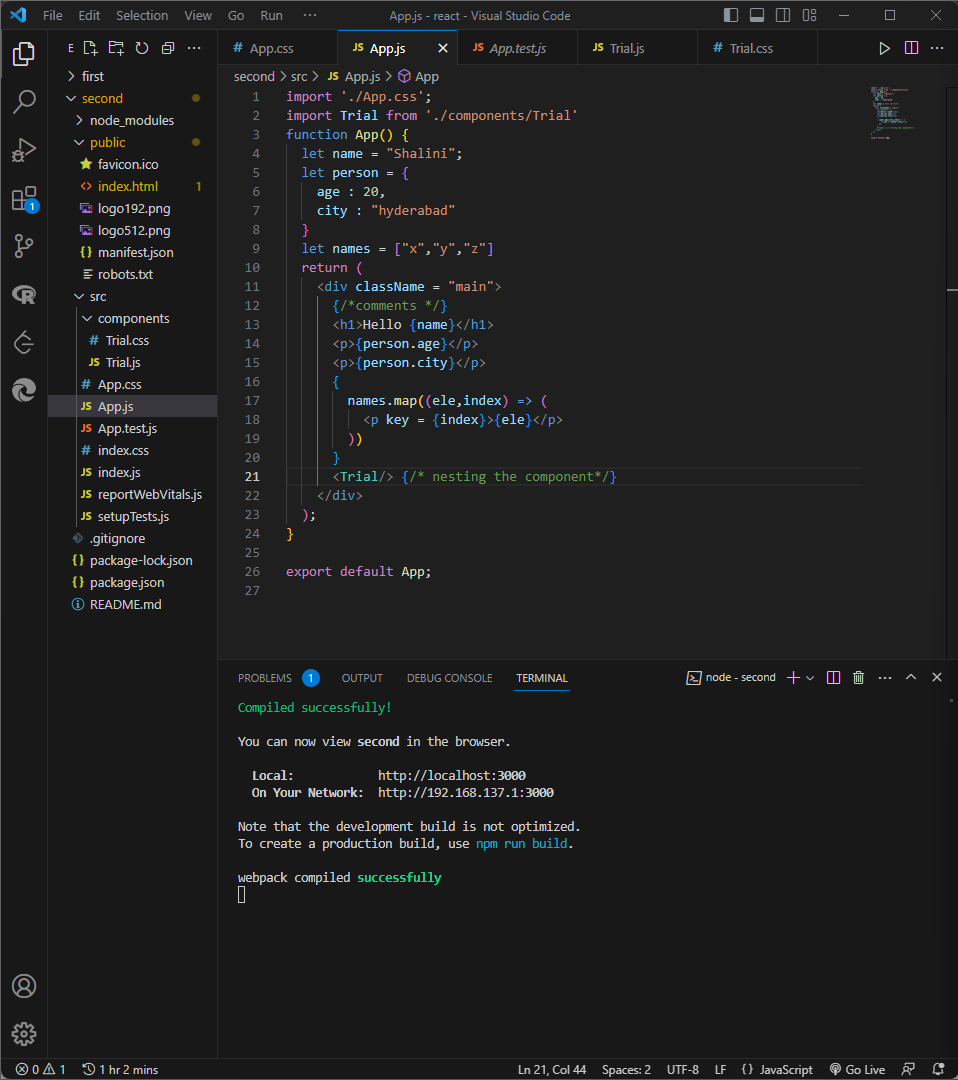

Import the component into parent(App.js) and add it as <ComponentName/> or <ComponentName> <ComponentName/>
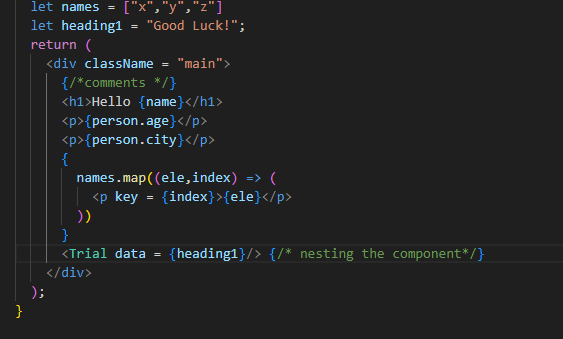
Passing data between components
What if you want the same style in the component but the data is different?
It is similar to the invitation cards we send out to people. The invite message remains the same for everyone but the name of the guest changes. So the data i.e. the names of the guests are sent by parents but the template or message for the invitation can be present in the child.
You need to reuse the components. This can be done by passing the data from the parent components to the child components.
props - The object sent by a parent to child component

Conclusion
You now know how to create a component, nest the component and pass the data from the parent component to the child.
Let's Connect
Twitter: Shalini Muskula (@noname469717) / Twitter
Github: Shalini469717 (Shalini) (github.com)
LinkedIn : Shalini Muskula | LinkedIn


