Introduction
If you have been using HTML and CSS to style your web pages, then you might have heard about Bootstrap. With the help of Bootstrap, you can easily create visually appealing as well as responsive web pages. You might have used it to style your web pages before but in this blog, I will cover how to use react-bootstrap to style your React application.
Installing react-bootstrap
Let's say you bought a new bookshelf from IKEA, what is the first thing you do when you start assembling it? You read the manual. Documentation is also similar to it except that you are learning to use the new technology instead of assembling the bookshelf.
The only thing you need, to use Bootstrap is the official documentation. Always refer to the documentation if you get stuck. If your query is not resolved then try searching for it.
Documentation link: React-Bootstrap · React-Bootstrap Documentation

If you check the first page (ps: if you haven't skipped the above link), you can use this command npm install react-bootstrap bootstrap to install react-bootstrap.
Did I install it?
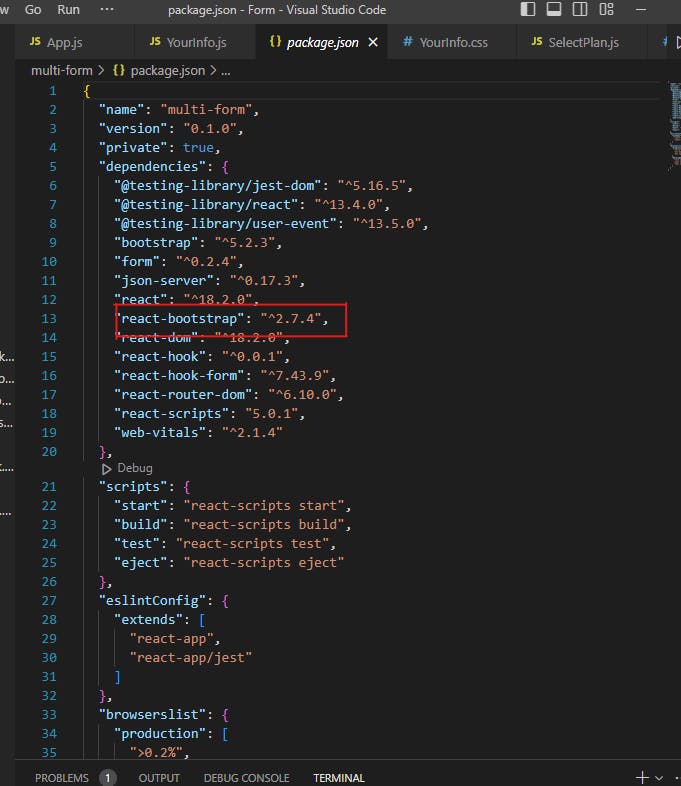
There is a simple way to check which dependencies you have installed. You can check them in the package.json file. If you search for react-bootstrap in the package.json file, it should show a version similar to this.
Get Ready
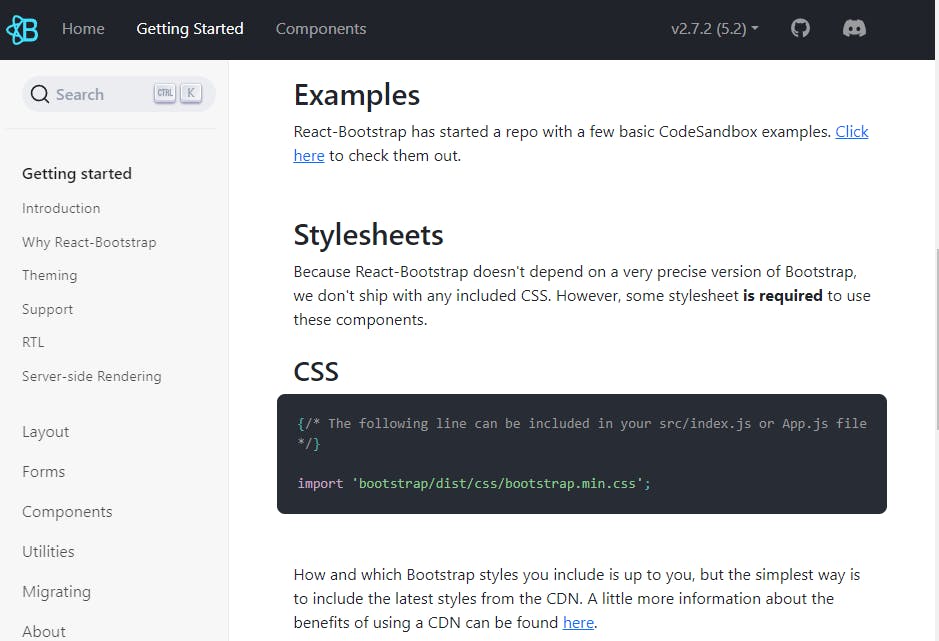
If you scroll down on the same page of documentation, you will find this written under Stylesheets. It says to include import 'bootstrap/dist/css/bootstrap.min.css'; in index.js or App.js.
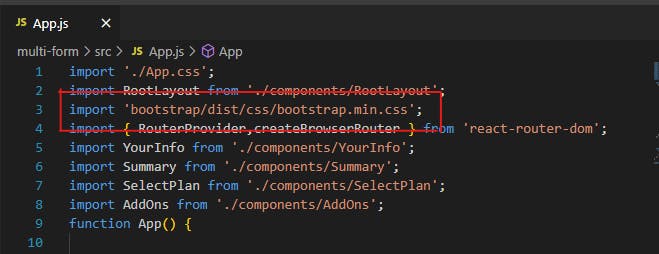
So, we just need to add it to App.js. It should look like this:
Now you are all ready to go!
Let's start using Bootstrap

How did you use Bootstrap before? Let's try comparing by taking a simple button as an example. (Refer to Bootstrap documentation Buttons · Bootstrap v5.3 (getbootstrap.com))
<button type="button" class="btn btn-primary">Primary</button>
This should give you a blue colored button.
In react you need to use className instead of class (like in HTML) to add styles using classes. So, if you want to add the same blue-colored button in React, you need to add the following code.
<button type="button" className ="btn btn-primary">Primary</button>
This will also give you the same button but in React application without using many lines of CSS code.
If you have been using Bootstrap, you can continue using it the same way just by modifying it to className.
The above method is one of the methods of using Bootstrap. The other method is by importing the bootstrap components.
When you installed react-bootstrap, at the same time, all the components have been downloaded. You can find the react-bootstrap folder in node_modules. If you click on it, you can find all the components.
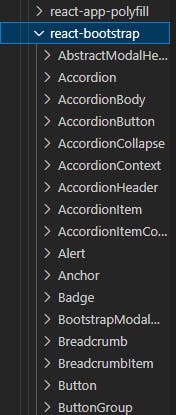
It is similar to importing our components. Let us take the same example of a button.
We want to import a button. So, let us go to the button section in the documentation.
(Here is the link in case you were lazy to navigate through the documentation: React-Bootstrap · React-Bootstrap Documentation)
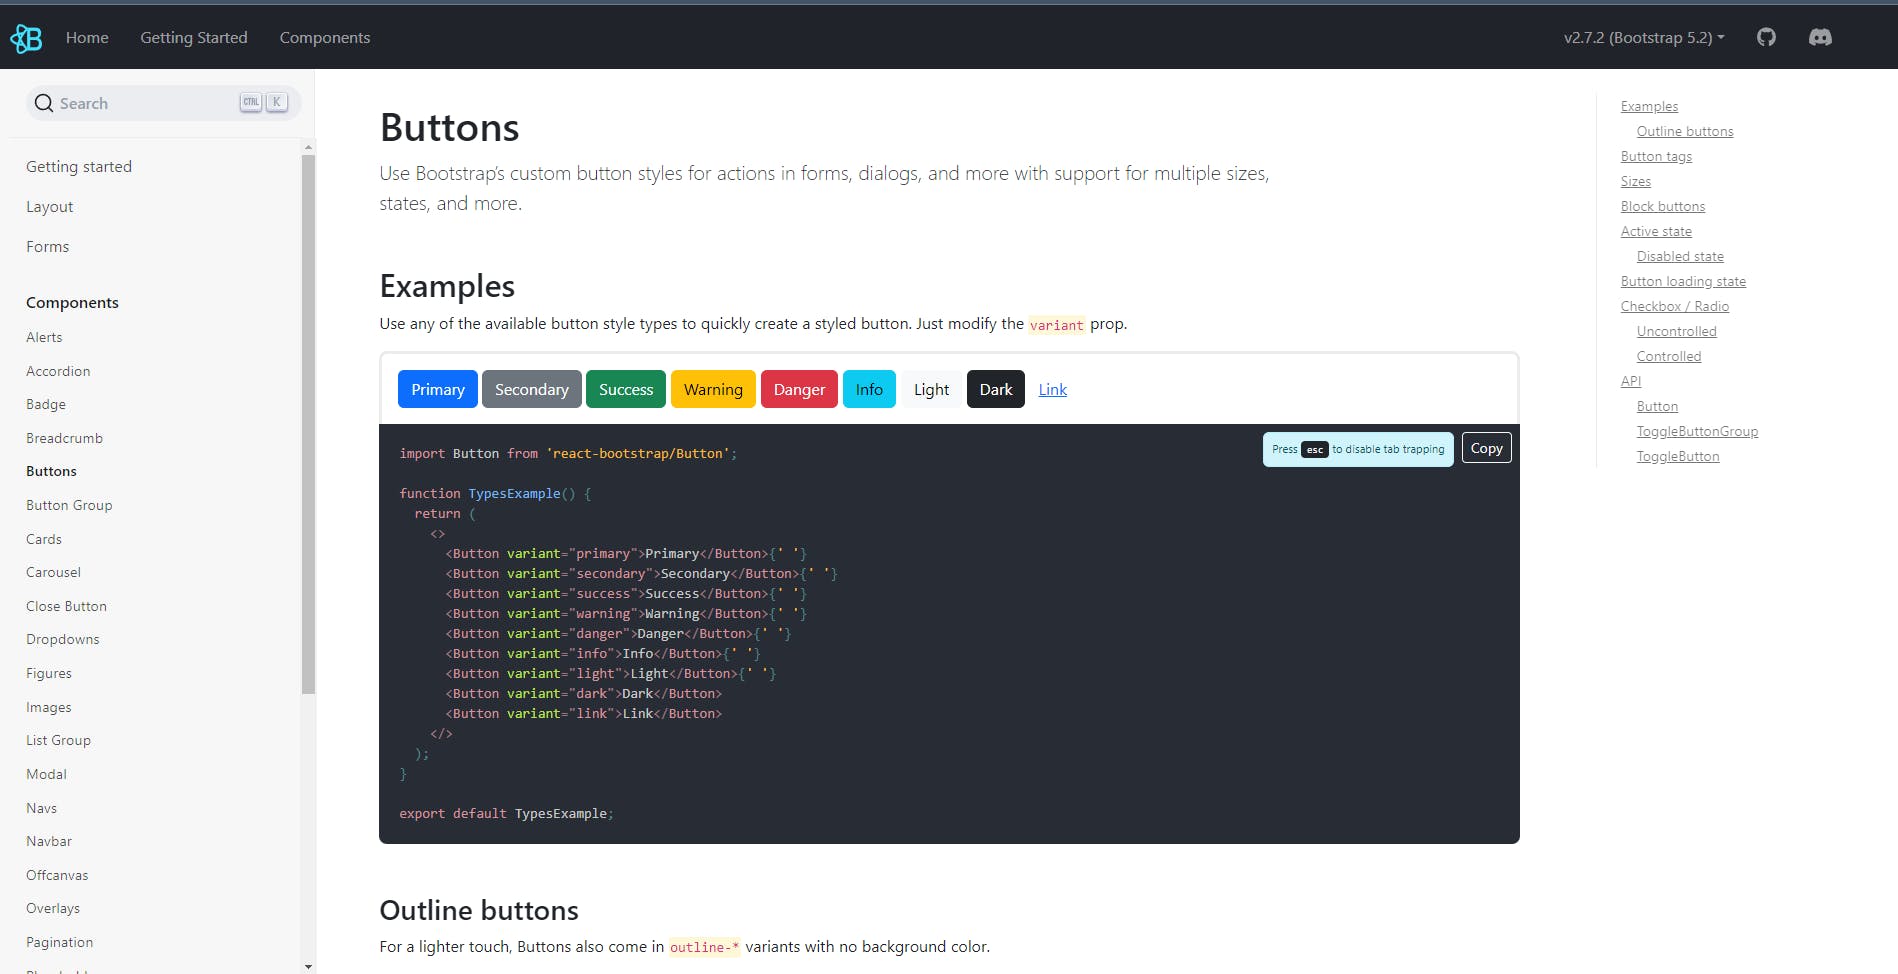
Here you can see there are buttons along with the code as to how to import them.
import Button from 'react-bootstrap/Button';
function App() {
    return <Button variant="primary">Primary</Button>
}
The button looks similar to the one in the documentation.
Let's try one more example for practice:
Try adding Navbar to your React application. It is better to use Navabar as a separate component. Explore the documentation and then add it to your web app. Let me know in the comments if you were able to do it.
Not satisfied with the styling?
If you want to add your styles or colors, you can still use the good old CSS. Using CSS in combination with react-bootstrap would yield better results. So, don't shy away from using both of them.
How about adding icons?
You might want to add icons to your application. Who doesn't want to add their socials in the footer?
Welcome to another Documentation! This time we will refer to React Icons (react-icons.github.io).
Similar to Bootstrap, you can install the react-icons too!

You will see something similar to this. So, the command you need to use is:npm install react-icons --save
Once you have installed them, you can start using them by importing them.
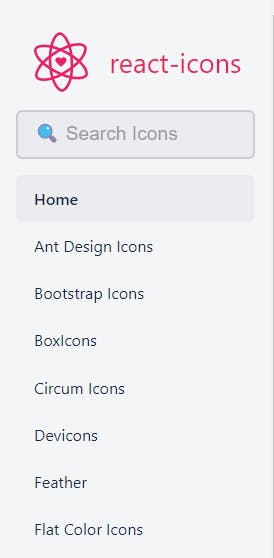
If you check the sidebar, there are many different kinds of icons! Let us try using one of them. I am choosing Font Awesome 5. Feel free to experiment with others.
Click on the icon you want to choose. The icon name will be copied to your clipboard. I am choosing the Bootstrap icon.
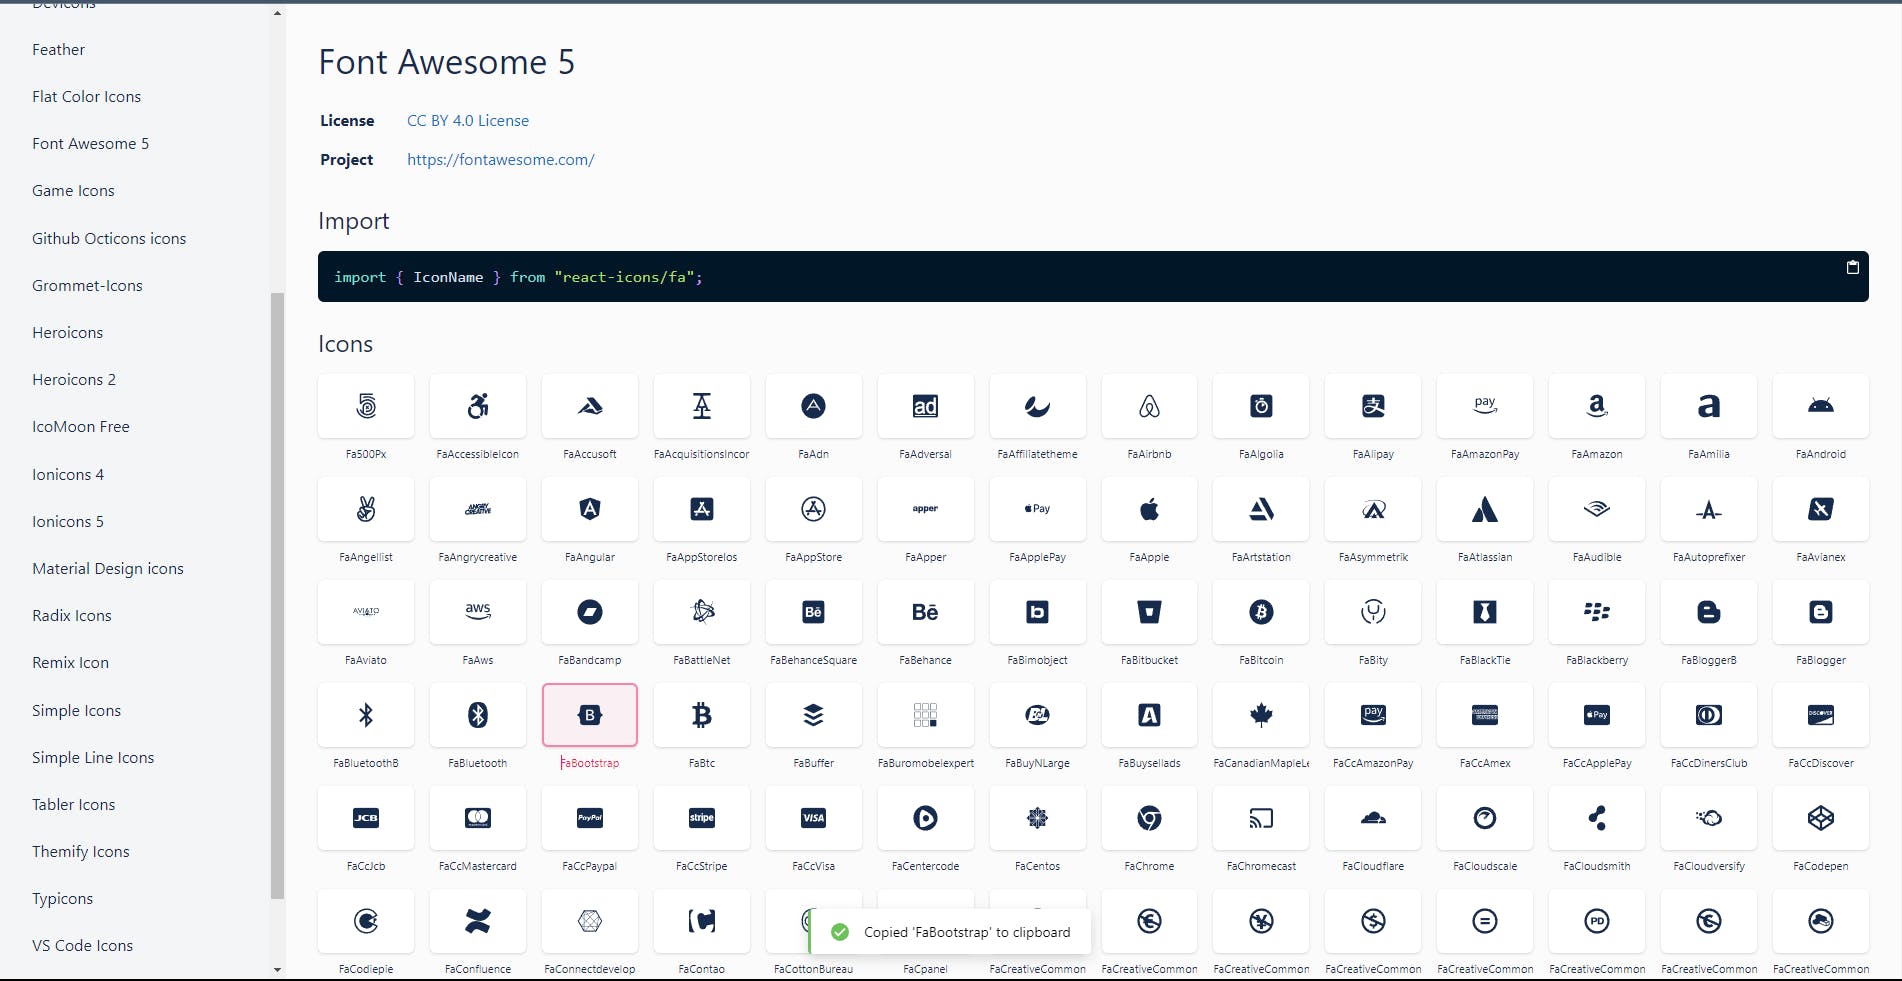
Importing the icon

You can see that they have given an import statement. So for the Bootstrap icon I choose, I need to import it and add <FaBootstrap /> as a component to my code.
import { FaBootstrap } from "react-icons/fa";
function App(){
    return(
        <h1><span><FaBootstrap/></span> Bootstrap </h1>
    )
}
The output is :

Similarly, you can import the other icons as well.
Conclusion
In this blog post, we've discussed how to use react-bootstrap. We've shown how to import the Bootstrap components into a React project, and how to use them.
When used together, Bootstrap and React can simplify the process of building responsive web applications. With this knowledge, you'll be able to create beautiful and functional web applications using two of the most popular front-end tools available today. Good luck building your app!
Post your progress!
Connect with me on Twitter: Shalini Muskula (@noname469717) / Twitter
If you have been learning React or have just started your journey, do use your Twitter to post your progress and ping me there!
